 Construction defects can be costly and time-consuming to fix. To minimize the risks associated with such problems, it is important to ensure that any construction project is completed to a high standard. One of the best ways to do this is by utilizing a snag list, which allows one to identify potential defects before they become major issues.
Constructing a project is rarely done with complete flawlessness, and so safety and quality control staff are essential to ensuring that worksites adhere to regulations. That said, sometimes minor defects or “snags” can occur which should be remedied promptly; patching up issues may require just as much effort as larger scale reworks – contractors must take responsibility for the associated costs either way in order to ensure positive customer feedback upon completion of their projects.
What are construction snags?
Construction snags are unfinished items or defects in a newly constructed building. A construction project can only be considered complete and ready for handover if all identified defects have been corrected and all corrections have been verified. They are sometimes called “punch list items” or “snag list items.” Identifying and resolving construction snags is critical to the quality control process.
Construction defects may range from minor cosmetic issues like touch-up coating to more significant issues like electrical or plumbing problems. But they have more specific classifications to identify the construction professionals responsible for correcting them.

For example, equipment snags refer to defects in any equipment installed as part of the construction work, such as HVAC systems or electrical fixtures. If the task was subcontracted, the contractor could require the subcontractor involved to fix them. Another example is finishing snags. These are defects in the final finishes, such as painting or flooring. This job, as well as all necessary corrections, is usually done by in-house tradespeople.
But how are construction snags identified? Depending on the urgency, these imperfections may or may not be resolved upon discovery. The contractor, sometimes joined by the client, conducts a series of inspections and lists down all the snags. These inspections are carried out at various stages of the construction project, including during and after the completion of the work.
- Pre-completion inspection – Days before the target date of completion, the project manager conducts a pre-completion inspection to identify snags and requires the responsible teams to correct them before the final inspection.
- Final inspection – After the pre-completion inspection, the project manager gives the teams time to correct all identified snags. Then, they conduct this inspection to verify that the necessary corrections have been made and the structure meets the required quality standards. This is the only time the construction project can be deemed complete.
- Site walk-through – At any time before, between, or after the pre-completion and final inspections, the contractor and the owner may walk through the construction site to visually inspect the work and identify any snags.
The result of these inspections is called a construction snag list or builders snagging list. It’s a simple document itemising the snags that need fixing. The quality control officer updates this snagging checklist during the final inspection. To make the list accessible to all authorised personnel and can be updated onsite or offsite, construction companies use building snag list software that enables them to create a construction snag list template.
What is construction defect management?
Construction defect management is the entire process of identifying, assessing, and resolving snags in a construction project. As a critical component of quality control, it requires the participation of all stakeholders, including the contractor and the client. Collaboration is also necessary to ensure that no stones are left unturned, the contract terms have been satisfied, and the final work meets all the required standards and specifications. Construction defect management runs in four stages.
- Stage 1: Identification – This stage consists of all inspections, including pre-completion and final inspections, throughout the project duration. Reviewing reports and identifying unresolved client complaints are also part of it. Building the snag list starts here.
- Stage 2: Assessment – Construction snags vary in severity, and so do their resolutions’ manner and cost. They have to be evaluated individually to determine how long and how much it will take to fix them.
- Stage 3: Correction – Once all construction snags have been identified and assessed and the correction strategy has been laid, the contractors and subcontractors can start the work. It may involve repairing, replacing, or a rework.
- Stage 4: Monitoring – Even the process of resolving construction snags follows a strict schedule. The contractor must monitor the progress to ensure that all work is finished before the final inspection.
- Stage 5: Verification – This is the final inspection. The contractor (including the project manager and quality control officer) and the client will perform a final check to verify if all the necessary corrections to the snag list in construction were done as instructed.
Construction snags get worse when neglected or taken lightly. Construction defect management aims to prevent this from happening to keep cost and time implications in check. Effective construction defect management requires clear communication, collaboration, and attention to detail at every stage of the process.
How to create a well-defined snagging list?
Construction defect management only works with a well-defined building inspection snag list. Creating a building snag list isn’t a one-off task, but a gradual process that starts at the beginning of the construction project. All defects must be identified, assessed, and resolved as the project advances. Since flaws are inevitable, the goal is to progressively reduce them until only the minor ones are left to fix by the end. Below is a simplified procedure for creating a construction project snag list.

Step 1: Review the contract and the specific scope of work.
The entire construction process will be based on the contract. Even though the contract doesn’t mention each stage of the construction in detail, it clearly states the targets and restrictions. By reviewing the contract, the quality control officer can have a basis for identifying defects and determining the best resolution. It also helps determine the potential cost of the resolution and prepare the needed budget. Ultimately, it helps ensure that the construction defect snag list reflects the construction project’s requirements.
Step 2: Document the defects in detail.
Every detail counts when resolving snagging in construction. Anyone, inspector or personnel alike, who notices defects during the construction should document them. Fortunately, construction companies now use project management software, which provides a platform where stakeholders can upload documents and evidence for storage and future use. This platform supports various file formats, including text, images, videos, and audio.
Step 3: Sort the snags according to their severity, impact, and urgency.
To ensure the success of any construction project, it is essential to plan for and anticipate potential snags. Through a thorough snag list checklist, contractors can determine which issues require immediate attention and adjust the budgeting, material procurement, and scheduling accordingly. With careful prioritization in place ahead of time—coupled with a final inspection—the chances are increased that projects will be completed on schedule without compromising quality or safety standards.
Step 4: Use a construction snag list template for better organization and resolution.
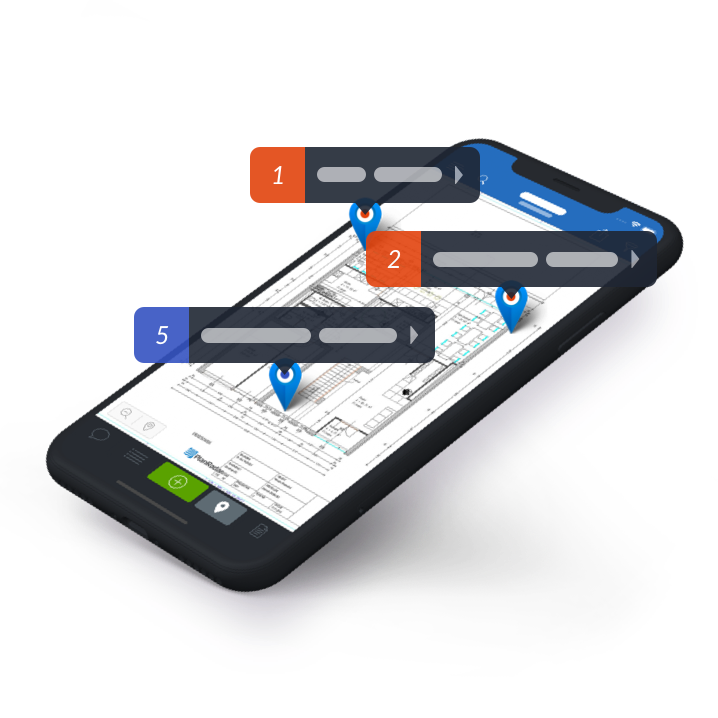
Another great advantage of using construction project management software is it allows contractors to create a digital snag list template, further simplifying their construction defect management. This is safer and much more efficient than traditional snag identification and assessment. The template can be later customised to meet current needs. It’s cloud-based, so authorised personnel can access and update it through their mobile devices and at any location.
Step 5: Establish a realistic timeline and assign responsibilities.
The pre-completion inspection must be done at least a couple of weeks before the project completion to give the teams enough time to correct all construction snags. So, the contractor must create a timeline based on the availability of resources and the required resolution methods. They must also assign responsibilities based on the probability of meeting the timeline without skimping on quality.
Step 6: Monitor the progress and update the template accordingly.
The good thing about the template created through the snag list app for contractors is that it can be updated as the resolution progresses. The template can be customised to reflect all changes relative to each update the contractor makes. It makes it easier for the quality control officer to track progress and mitigate potential issues.
Conclusion
Construction companies take defects very seriously because they reflect the quality of their service. That’s why they employ a comprehensive construction defect management system to ensure that all the snags are corrected and that the entire structure meets all the necessary standards and regulations. With the availability of construction project management software, such as PlanRadar, creating and accomplishing a construction snag checklist is easier than ever.
Whether you need a template for a commercial construction snag list or a facility management snag list, the software can do it. Start your 30-day free PlanRadar trial, or contact us to find out how PlanRadar can improve managing defects in your projects.


